A Homeowner’s Guide to Turf Removal: Preparing for a Native Plant Garden
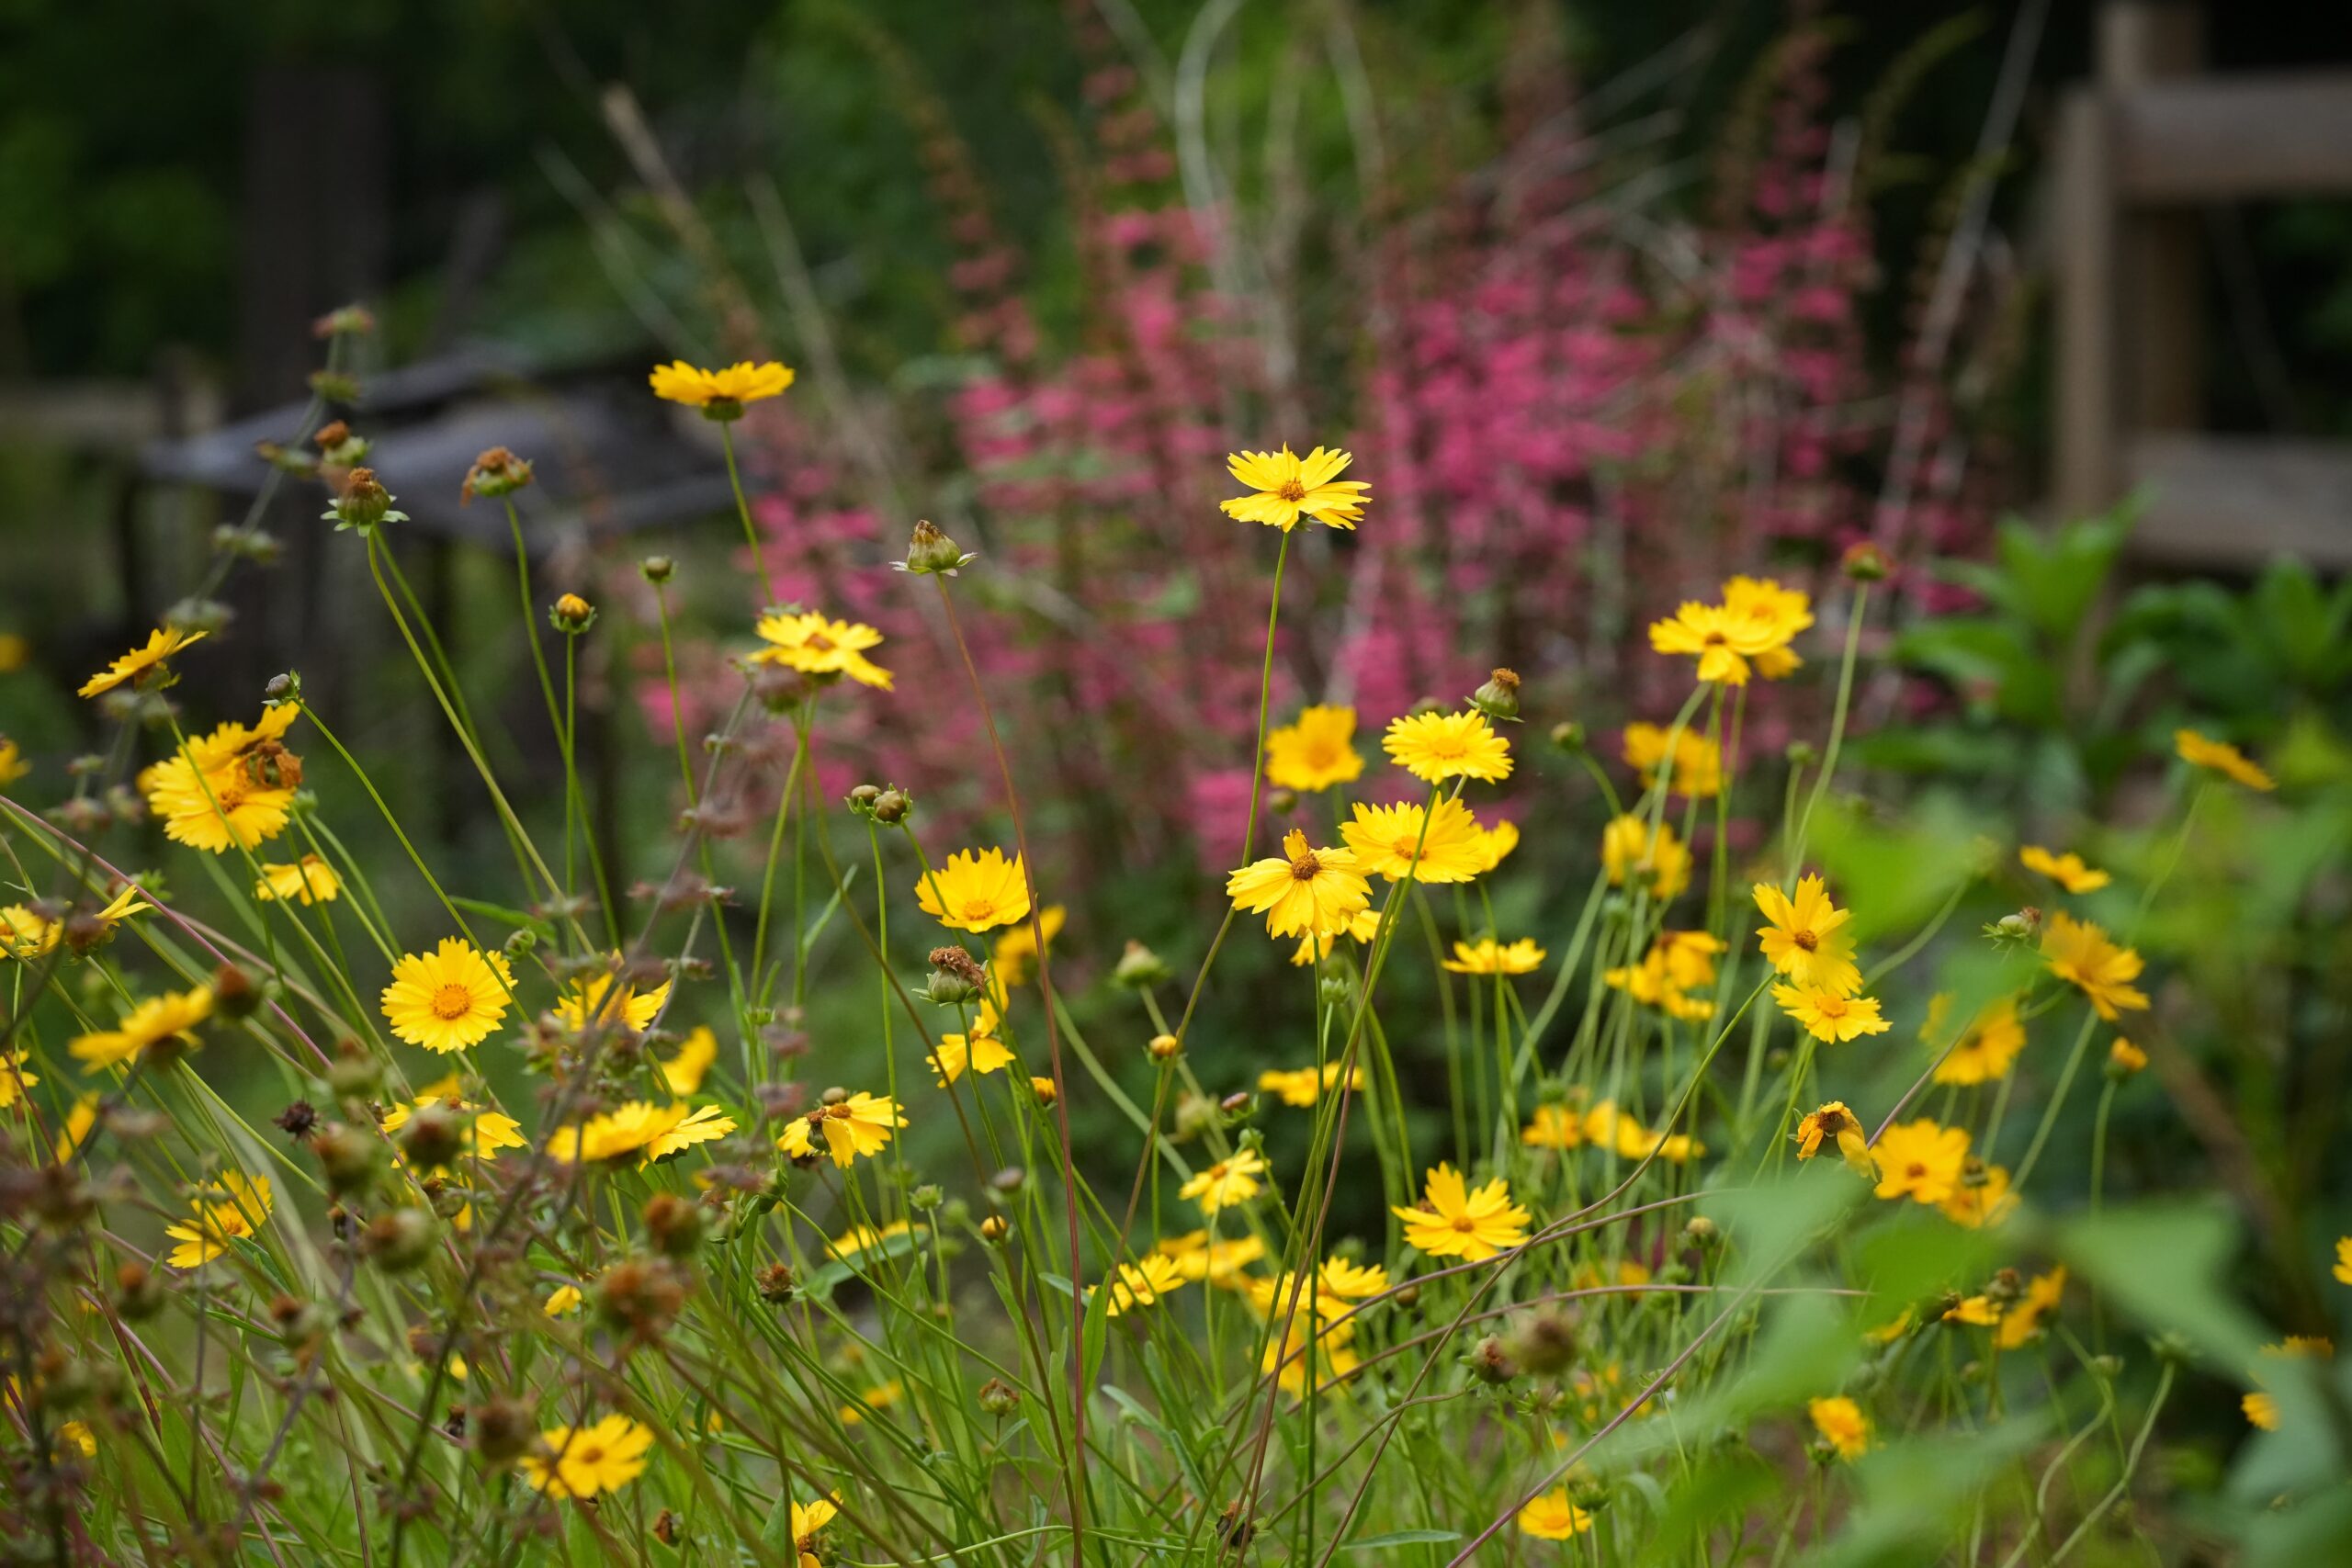
Pictured above: Native plant garden with Lanceleaf tickseed (Coreopsis lanceolata) in the foreground, by Emily Bell.
This guide is intended for preparing small sites of less than 2500 square feet. For information on preparing larger sites, check out Xerces Society’s Organic Site Preparation for Wildflower Establishment.
Proper site preparation for native plant installations is critical for long term success. Large areas of turf can be an intimidating prospect, and weeds can pose problematic competition. When getting started, it is essential to have a clean planting area with few to no weeds. With rare exception, turf (and other weedy, undesirable groundcovers) must be dead before wildflowers are planted. For areas that will be seeded, the soil must be bare and firm (but not compacted).
There are several ways to kill turf and weeds:
NOTE: Any mechanical, physical or chemical alteration of turf, including killing turf, is a disturbance, which will stimulate germination of dormant seeds in the seed bank. The greater the disturbance, the greater the germination of dormant seeds. In other words, the potential for weed recurrence is directly related to the level of disturbance.
1. Solarization
Solarization is a very effective means of killing turf and obtaining a weed-free planting site, but it takes time, patience and is only suitable in sites with full sun. It is most effective when done from June to mid-August, when the sun is high in the sky, days are long, and the temperature is highest. The method works by heating slightly moistened soil to as much as 140ºF near the surface1. Moist heat is very effective at killing seeds and often even tubers and rhizomes of noxious weeds, like nutgrasses (Cyperus spp.), that are close to the surface. Use clear plastic for soil solarization, which allows the sun to heat up the soil via the greenhouse effect (the same reason cars get so hot in the sun). Don’t be concerned if you initially see some green plants emerge after you lay down the plastic. They will die after a few sunny days.
Basic steps for solarization:
- Remove loose vegetation, weeds and debris from the area to be solarized.
- Till the soil 6 to 12 inches deep. Break up clods of soil — the finer the texture the better. Remove any sticks, roots, stones and other debris brought up to the surface a result of tilling.
- Rake the area so that the surface of the tilled area is smooth.
- Irrigate so that the entire soil profile is slightly moist (but not soggy). Moist soil is much better than dry soil at conducting heat. Also, moist heat is very effective at killing seeds.
- Cover the site with 3 to 6 ml clear plastic. (Used/recycled plastic can be utilized provided it is not brittle and is free of holes or tears. Know that, depending on its age and previous exposure to sun, used plastic may be more susceptible to tearing.) Bury the edges* of the plastic about 8 to12 inches to hold the plastic taut and close to the ground. The plastic needs to be as taut as possible and secured around the perimeter to minimize airflow and prevent wind from lifting it up. Check plastic regularly for tears from animals or weather. Small holes can be patched with clear packing tape or duct tape. (*Alternatively, weights can be applied along the edges. However, it can be difficult to keep the plastic taut with weights alone. Gaps between weights are susceptible to strong winds lifting the plastic, which will allow heat to escape.)
- If utilized during summer months, soil solarization process will take about 6 to 8 weeks. You can leave the plastic in place until you are ready to plant, but should plan to plant as soon as possible after the plastic has been removed.
For larger sites, multiple sheets of plastic may be needed. Be aware that solarization tends to be less effective along the edges of the plastic, so you may need to manage weed emergence at the perimeters. It’s often best to limit the size of each solarized area to the dimensions of a single plastic sheet, considering the need to bury the edges securely. For larger plantings, consider creating multiple solarized beds with grass or mulched aisles in between.
2. Light deprivation/smothering
Light deprivation is the process of killing existing vegetation by smothering it. It can take more time than solarization and herbicide use but has the advantage of being safe and less expensive.
Basic steps for smothering:
- Mow or string trim the site as low as possible. Leave clippings but remove any woody stumps or debris.
- Irrigate so that the entire soil profile is slightly moist (but not soggy).
- Cover the area under a heavy material such as old carpets or towels or thick black plastic, then apply a thick layer of sustainable mulch†. If using plastic, use a heavy grade that won’t deteriorate quickly in the sun.
- Keep the area thoroughly covered from light for 2 months, then check the turf condition. Dead turf is brown and crumbly. Yellow or pale white vegetation is still alive and ready to recover with the first shot of sunlight and water. Go for the brown, even if it takes months.
- Once the turf is dead, remove the material and use a leaf rake to remove the dead vegetation to expose bare soil.
This method will kill above-ground growth of turf and weeds, but the underground parts may not die.
3. Sheet mulching
Sheet mulching is similar to the light deprivation process in that it kills turf and weedy vegetation by smothering it. However, it employs only carbon-based, biodegradable materials such as cardboard, newspaper or recycled paper, which are not removed. It is best used in sites where live material will be planted and is not recommended for sites to be established with seed.
Basic steps for sheet mulching:
- Mow or string trim the site as low as possible. Leave clippings, but remove any woody stumps, roots or debris.
- Cover the area in a thin layer (about 1 inch) of weed-free compost, pine straw* or leaves. Use a rake to evenly disperse.
- Irrigate the area so that the entire soil profile is slightly moist (but not soggy).
- Cover the area with a carbon-based material such as cardboard (remove any tape, staples or other inorganic material), burlap, newspaper (no glossy pages), recycled paper or biodegradable weed cloth. Overlap the pieces by 8 inches to ensure coverage and prevent sunlight from reaching the soil. If using recycled paper or newspaper, use enough sheets to form at least a ¼-inch layer.
- Irrigate until the material is wet. This will help keep it in place and will help initiate decomposition.
- Apply a thick layer (6–8 inches) of compost and/or soil.
- Cover with a thin layer (about 1 inch) of pine straw, leaves or other organic, sustainable mulch†.
- Irrigate again so the entire profile is moist (but not soggy).
- Keep the area moist until the individual layers are indistinguishable. As this is a “cold” process, it may take several months to fully decompose.
- Plants may be installed directly into the sheet mulched area immediately by cutting into the occlusion layer and planting into the ground. (Be mindful the hole is not too deep for the plant.) Alternatively, waiting a week or two before planting allows the layers to settle and ensures no weeds emerge. Note that the height of the sheet mulched site may be difficult to manage unless contained within a bed or by pavers, blocks, riprap or other structures.
*Check pine straw for visible signs of the invasive climbing fern, mold or ant colonies. Do not use if any are present.
†Do not use cypress mulch as it not always sustainably harvested and contributes to the destruction of an ecologically sensitive ecosystem.
4. Mechanical and hand removal
Mechanical removal uses a tiller or sod cutter to sever roots and separate turf from soil. A sod cutter will cut the turf into strips for easier disposal. A tiller will break up turf and cut roots into pieces that can then be removed with a shovel. Both machines may be purchased or rented.
Hand removal is accomplished by scraping under the turf with a flathead shovel or chopping it with a grub hoe to cut the roots and release the turf from the soil. This method is very labor intensive and is best utilized in small areas where other methods are impractical.
Before digging, call 811 to locate underground utilities. If you have an underground irrigation system, note where the pipes and heads are to avoid them.
While both hand and mechanical removal result in a relatively bare site, they both risk turning up unwanted weed seeds. Both methods may also eliminate organic material (i.e., healthy soil) that will need to be replaced. One other consideration is that some grasses have deep persistent roots that will regenerate from pieces left behind. It may be helpful or necessary to kill the sod before attempting to remove it by hand or machine.
5. Chemical herbicide
Glyphosate3 is a chemical herbicide that works relatively quickly, but it can kill desirable plants if there is spillage or wind drift. The jury is also still out on the long-term effects of this chemical to the natural environment and human health. If you must use glyphosate, consider hiring a licensed professional to apply it. While glyphosate is sold under many trade names, make sure the only active ingredient in the product is glyphosate.* (Some glyphosate products might contain a small amount of diquat, which is acceptable.)
Glyphosate is most effective when turf/vegetation is healthy and thriving, i.e., not drought stressed. You may need to irrigate with about ½ inch of water a day or two prior to treatment. It’s best if glyphosate is applied in the morning after the dew has dried. This is normally when humidity is highest and plants are usually metabolically active, both of which improve uptake. Also, wind speeds tend to be lowest in the morning, reducing the likelihood of drift. (Note: If you can feel the breeze, it’s too windy to spray. Drift of a foot or two can occur even at wind speeds of 3 mph.)
Have the area treated at least one month prior to planting and again two weeks later. It should not be applied if rain is likely to occur within an hour after spraying. Once the vegetation is dead, mow or string trim it as low as possible, being sure not to scalp the soil. If seeding, use a rake to remove the clippings and expose the bare soil.
*Glyphosate is broken down by soil bacteria. It degrades relatively quickly (typically between 7 and 60 days), although it may persist for up to 6 months. Glyphosate is not likely to get into groundwater because it binds tightly to soil.4
Additional resources:
- McSorley, Robert and K.G. Harsimran. Introduction to soil solarization. ENY-062, Entomology and Nematology Department, Florida Cooperative Extension Service, IFAS, University of Florida, Gainesville, FL.
- Stapleton, J.J., A. Wilen, and R. H. Molinar. 2008. Pest notes: Soil solarization for gardens & landscapes management. UC Statewide IPM Program, University of California, Davis, CA 95616.
- United States Environmental Protection Agency, Ingredients Used in Pesticide Products: Glyphosate
- Kanissery R, Gairhe B, Kadyampakeni D, Batuman O, Alferez F. Glyphosate: Its Environmental Persistence and Impact on Crop Health and Nutrition. Plants (Basel). 2019 Nov 13;8(11):499. doi: 10.3390/plants8110499. PMID: 31766148; PMCID: PMC6918143.

